-
Cable Management
-
Terminals
-
Wire & Cable
-
Wire Connectors
-
Heat Shrink
-
Switches

Installing a toggle switch in a panel may seem daunting, but with the right tools and a bit of guidance, you can easily tackle this DIY project. Whether you’re updating an existing panel or building one from scratch, this guide will walk you through the process step-by-step. Let’s dive in and learn how to install that toggle switch!
Before you begin, make sure you have all the essential tools and materials at hand. You’ll need a toggle switch, a drill, screws, a screwdriver, a wire stripper, electrical tape, and the wiring diagram for your specific project.
Having the right materials can significantly streamline the process and prevent any unnecessary interruptions. Think of this stage as laying out your blueprints before starting a big project. Each tool and material plays a crucial role in ensuring a smooth and efficient installation process, so check each off your list before diving in.
Don’t forget to wear safety goggles and gloves for protection. Electrical projects can be hazardous, and it’s always better to prioritize safety, especially when working with electric components.
Start by identifying the location on the panel where the toggle switch will be installed. Use a marker to outline the spot, and then drill a hole large enough for the toggle switch to fit through comfortably.
When preparing the panel, you should also ensure that the location for the toggle switch does not interfere with other components. This planning phase helps in foreseeing any potential complications that might arise during the actual installation.
Carefully check the panel’s material, as thicker panels may require more effort to drill through. Proper preparation can help in maintaining the integrity of your panel and avoid costly mistakes or damages.
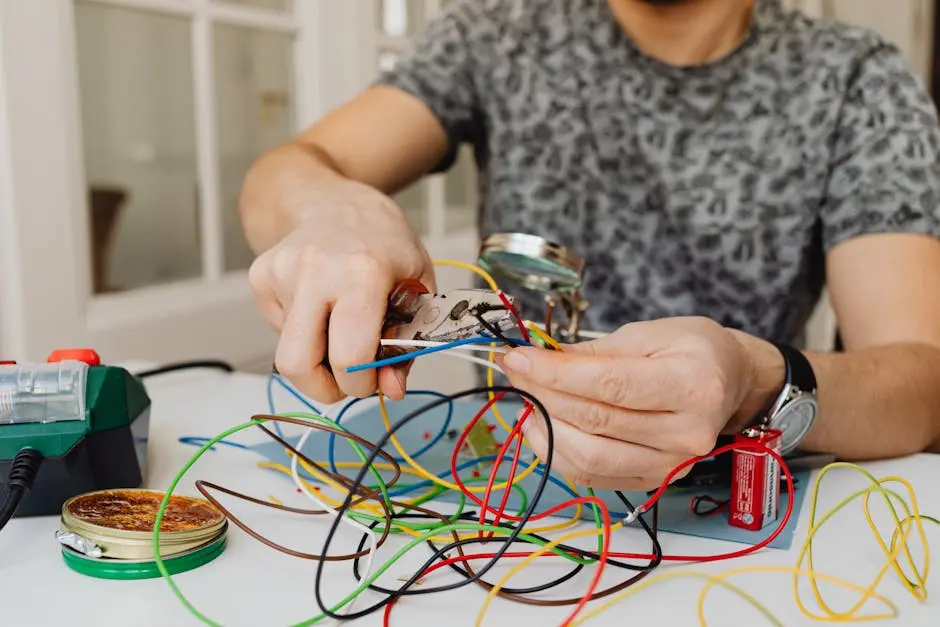
Carefully strip the ends of the wires that will connect to the toggle switch. Follow the wiring diagram to attach the wires to the switch terminals. Secure them with electrical tape to ensure they stay in place.
A well-wired switch is critical for functionality. Make sure you match the wire colors as per the wiring diagram, which is typically provided with your toggle switch.
It’s valuable to understand basic electrical wiring concepts to troubleshoot any issues, as improper wiring can result in malfunction or short circuits.
Insert the toggle switch through the drilled hole in the panel. Use screws to secure the switch in place and ensure it is tightly fastened. Double-check that all the connections are secure and the switch operates smoothly.
Proper installation ensures your toggle switch remains operational over time. Ensure the switch is oriented correctly for ease of use and is leveled to give it a professional appearance.
Perform a quick functionality check by gently flipping the switch on and off; it should offer a nice snap without unnecessary force.
Turn on the power and test the toggle switch by flipping it on and off. Ensure that it is functioning correctly and controlling the intended device or circuit as expected. If everything is working properly, you’re all set!
Testing the installation is as important as the configuration itself. A properly installed toggle switch should consistently deliver the expected results without flickering or delays.
Finally, if issues arise during testing, retrace your steps to identify potential faults, starting with the wiring to ensure all connections are correct and tight.
Installing a toggle switch in a panel is a straightforward task when broken down into simple steps. By gathering your tools, preparing the panel, and following the wiring and installation procedures, you can successfully complete the project with confidence. Remember to always adhere to safety guidelines for a smooth and safe installation. Happy DIY-ing!